Heatmiser Neo Hub Integration
Posted: Wed Dec 03, 2014 2:43 pm
Example project demonstrating integration with a Heatmiser Neo Hub, via our Centro 8 processor. Just like the Heatmiser WiFi integration, the Neo module works by linking the device to the processor, and going to the Heatmiser configuration module. There, you associate flags/numbers/labels with the appropriate module elements.
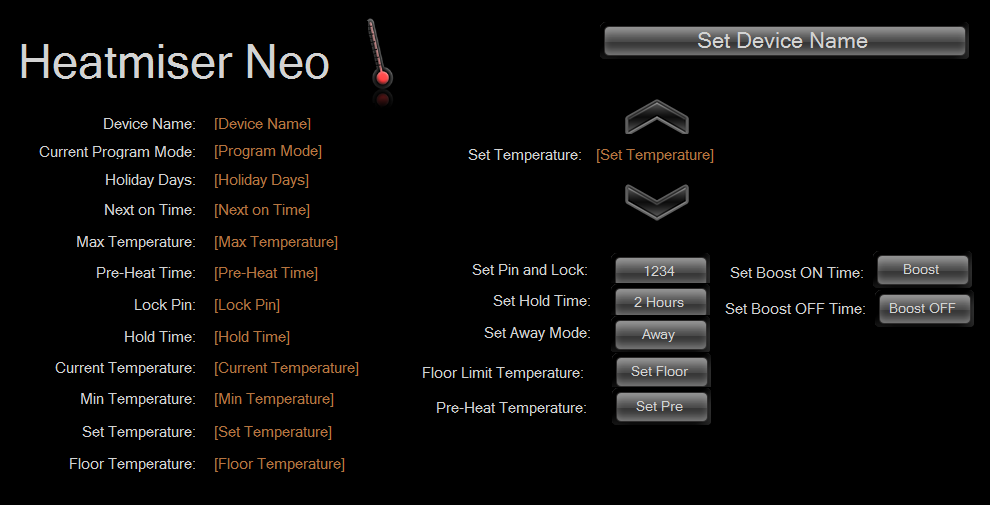
You need to associate the variables using the Neo module:
* Since the Neo Hub runs on DHCP, you'll need to set a static link to its MAC address on the router.
** An important first step is to correctly set the name of the Neo Hub - this is done by setting the 'Device Name Label'. This has to be done once per Centro.

*** The port to use is 4242, command suffix \x0A\x00 and 2-way response terminator \x00
You need to associate the variables using the Neo module:
* Since the Neo Hub runs on DHCP, you'll need to set a static link to its MAC address on the router.
** An important first step is to correctly set the name of the Neo Hub - this is done by setting the 'Device Name Label'. This has to be done once per Centro.
*** The port to use is 4242, command suffix \x0A\x00 and 2-way response terminator \x00